Plug in your drive
USBliss detects it automatically and shows its name, capacity and contents.

Prepare your USB drive once. Drop your ISO files onto it, then choose Windows or Linux when you start your computer. Simple, free and hassle-free.
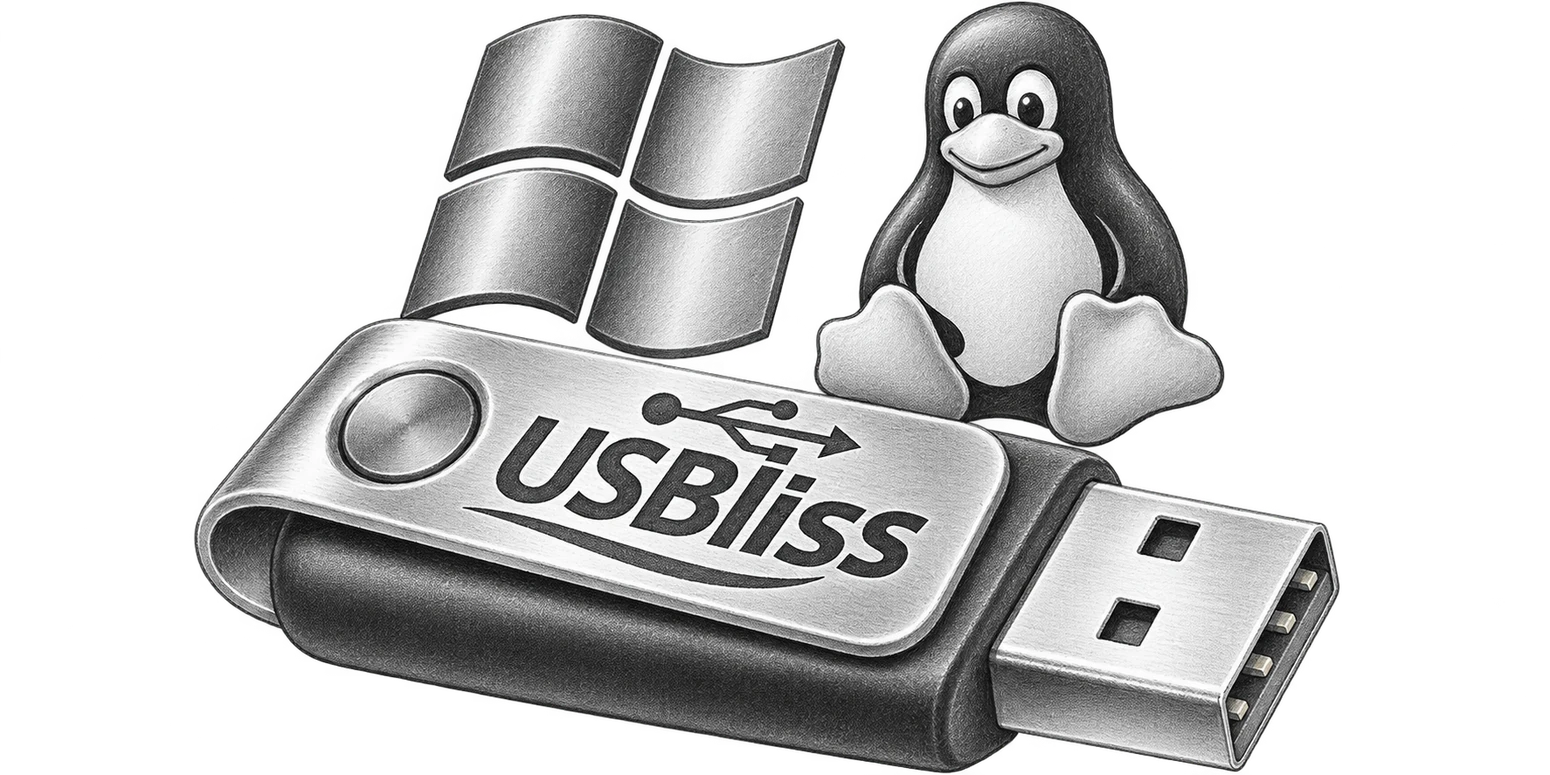
A bootable USB drive has never been so easy.
USBliss detects it automatically and shows its name, capacity and contents.
Confirm the erase operation, approve the system request and follow the on-screen progress.
Windows, Ubuntu, Linux Mint… Add multiple systems by drag and drop, without starting over.
Boot your computer from the USB drive, find your OS and start installation.
A good tool should be both simple and reliable.
Internal disks stay protected. You must confirm before erasing a USB drive, and USBliss verifies the result.
Track speed and time remaining. Pause, resume or cancel safely; every copied ISO is checked.
Built-in ISO manager with file list, sizes, free-space indicator and one-click removal. Duplicates and space issues are flagged.
Existing USBliss drives are detected automatically. Update the bootloader without deleting ISO files, or simply add more systems.
Straightforward explanations, useful error messages, Secure Boot guidance, manufacturer boot keys and safe ejection.
Choose the version for your computer. Every version includes all USBliss features.
Windows 10 and Windows 11
For Windows PCs. Prepare as many multiboot drives as you need.
Version 1.0.1macOS 11 or later
For Intel-based Macs. A native USB preparation app.
Version 1.0.1macOS 11 or later
For Macs with Apple silicon (M1, M2, M3, M4 and compatible later generations).
Version 1.0.1Not sure which Mac you have? Open Apple menu → About This Mac and check “Chip” or “Processor”.
Choose a system to start
No need to scroll through long lists. Type a few letters, press Enter and launch the system you want.
USBliss supports multiple generations of computers and operating systems.
One drive works with recent and legacy PCs.
Compatible after a one-time enrollment on each applicable PC.
Ubuntu, Debian, Fedora, openSUSE, Linux Mint and many more distributions.
Full installation from the official ISO, with automatic continuation after reboot.
On supported modern PCs, load the system into memory before booting.
Supports .iso, .img and .efi files. An 8 GB or larger drive is recommended.
Small, thoughtful features make every step easier.
You do not need to be an expert to install an operating system.
An ISO is a full operating system image stored in one file. Download it from an official source, then add it to USBliss.
Plug in the drive, restart and open your computer’s boot menu. Often F12 (Dell, Lenovo, Acer), Esc or F9 (HP), F8 (some Asus), or Option (⌥) on Intel Macs. Exact keys vary by model; see the built-in guide.
Secure Boot is a startup protection. On first use, a blue screen may ask you to enroll the USBliss boot key. Follow the on-screen instructions, then restart.
USBliss includes an option to bypass some Windows 11 checks (TPM, Secure Boot, RAM). This does not guarantee compatibility or future updates. Back up your data first.
Yes, the first preparation erases the drive, after explicit confirmation. Adding ISO files or updating an already prepared USBliss drive keeps your existing ISO files.
You can pause, resume or cancel. Incomplete files are removed on cancellation. USBliss reads back and verifies copied files.
USBliss is available in English, French, German, Spanish, Italian and Portuguese. It detects your system language automatically, lets you change it manually and defaults to English.
News, guides and practical tips.
Ready to give that old USB drive a new purpose?